Blooming Gel How To Use
Are you tired of the same old nail polish routine? Do you crave intricate designs without the skills of a Michelangelo? Well, step aside. Sistine Chapel, because blooming gel is about to revolutionize your main game! You should know blooming gel how to use. This magical product creates stunning watercolor-like effects with minimal effort, letting your creativity blossom like a spring bouquet. Ready to dive into this blooming phenomenon? Grab your gel polishes, a curious spirit, and let’s get started!
Does blooming gel need to be cured?
Yes, Gelish Blooming Gel, like other gel nail products, needs to be cured under an LED or UV lamp. Blooming gel is a translucent gel polish that acts as a catalyst for color diffusion. Think it as an empty canvas eagerly awaiting vibrant hues to grace its surface. Like regular gel polish that dries quickly, blooming gel stays wet, allowing other gel colors to delicately dance and blend on its surface.
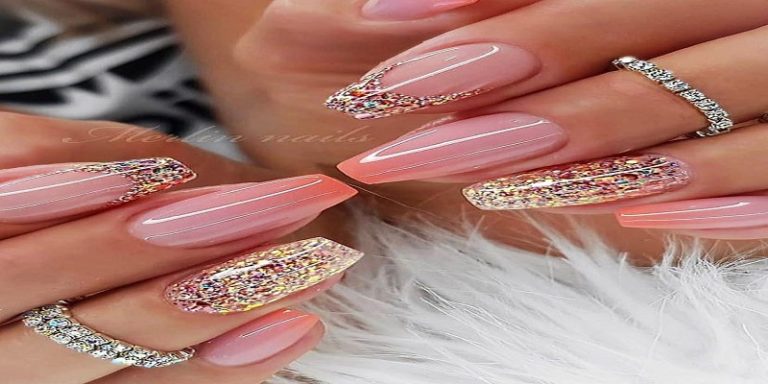
The result? Ethereal gradients, mesmerizing marble swirls, and delicate floral blooms – all within the reach of your fingertips. Curing is the process by which the gel product hardens and sets in response to the light emitted by the lamp. Without curing, the gel will remain in a semi-liquid state, making it susceptible to smudging, denting, or not fully adhering to the nail.
Gear Up Blooming Basics
Before we set your nails ablaze with color, let’s gather the essentials:
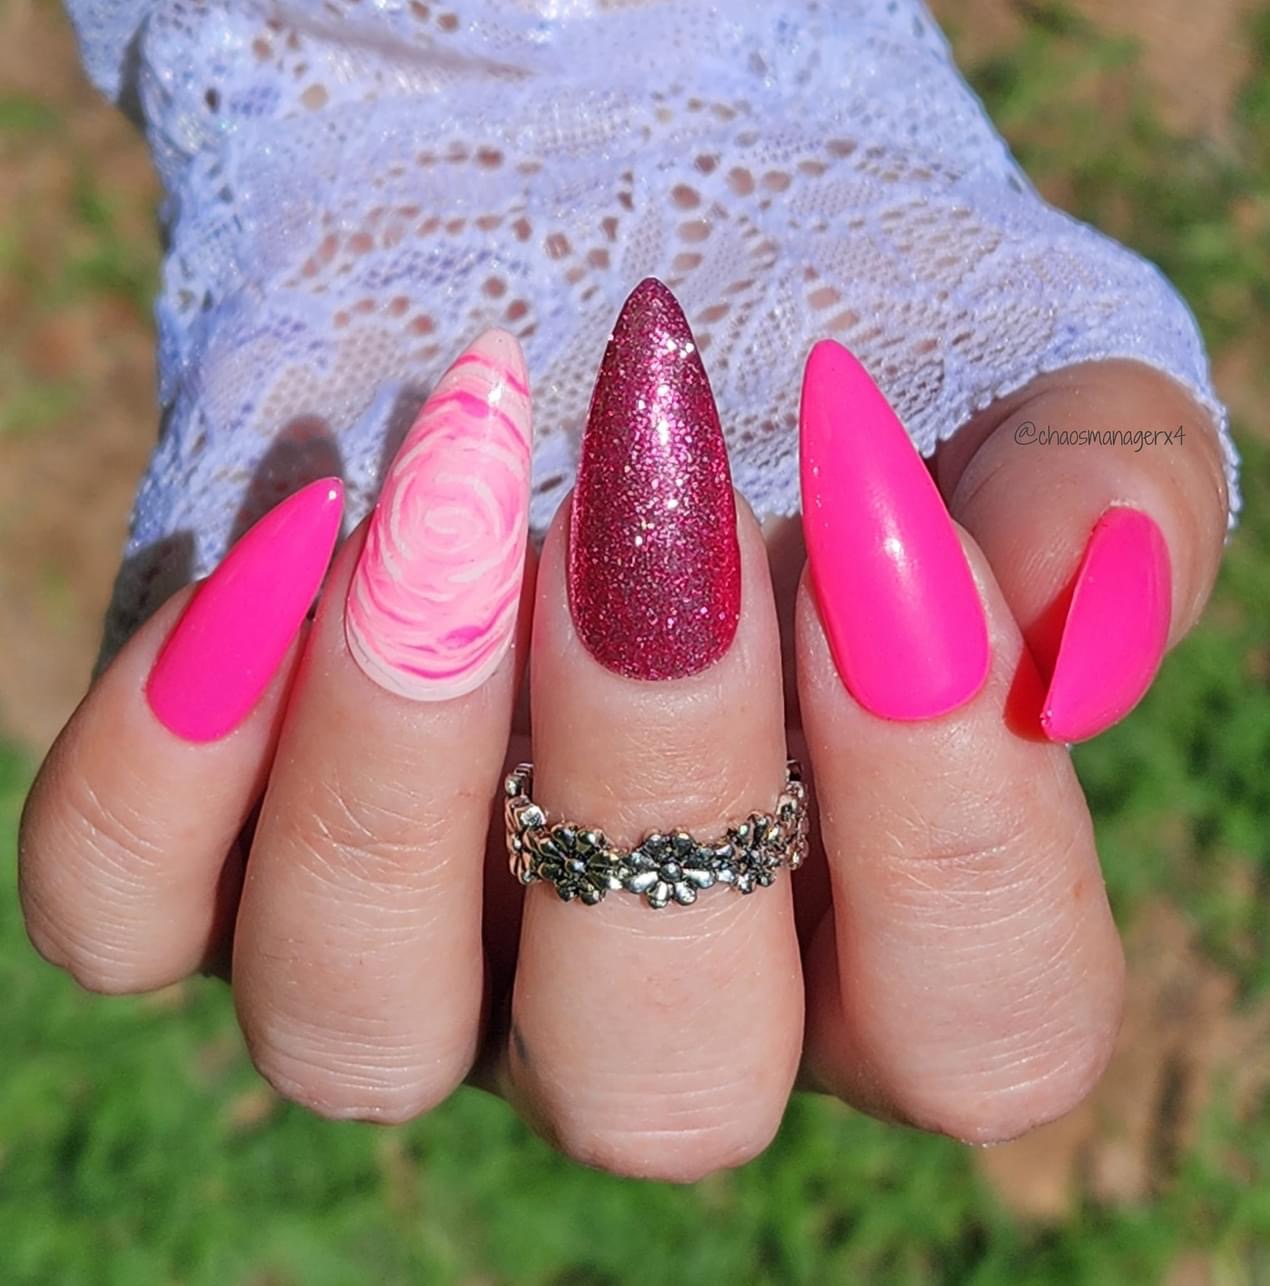
- Gel Polish Palette: Unleash your inner color alchemist! Pick at least two contrasting gel polishes for a dynamic blooming effect. Think neon pinks and navy blues, or shimmering golds and emerald greens.
- Dotting Tool or Fine Brush: These will serve as your miniature paintbrushes, adding precision and detail to your designs.
- Clean-Up Tools: Cotton swabs dipped in acetone will wipe away any stray gel mishaps.
- UV/LED Lamp: Curing is key! Make sure your lamp is compatible with gel polishes.
Blooming Gel How To Use?
Step 1
The first step of blooming gel how to use is start with clean, dry nails. Remove any existing polish and shape your nails using a nail file. Carefully push back or remove the cuticles. Apply a thin layer of Gelish Foundation (base coat) to each nail, ensuring the free edge is capped for extended wear. Follow by applying one or two coats of your chosen Gelish Soak Off Gel Polish as the base color.
Step 2
Cure each coat under the Gelish LED or UV lamp as per the manufacturer’s instructions. Now, proceed to apply the Gelish Blooming Gel in Step Using the Blooming Gel, create your desired design on each nail.
Step 3
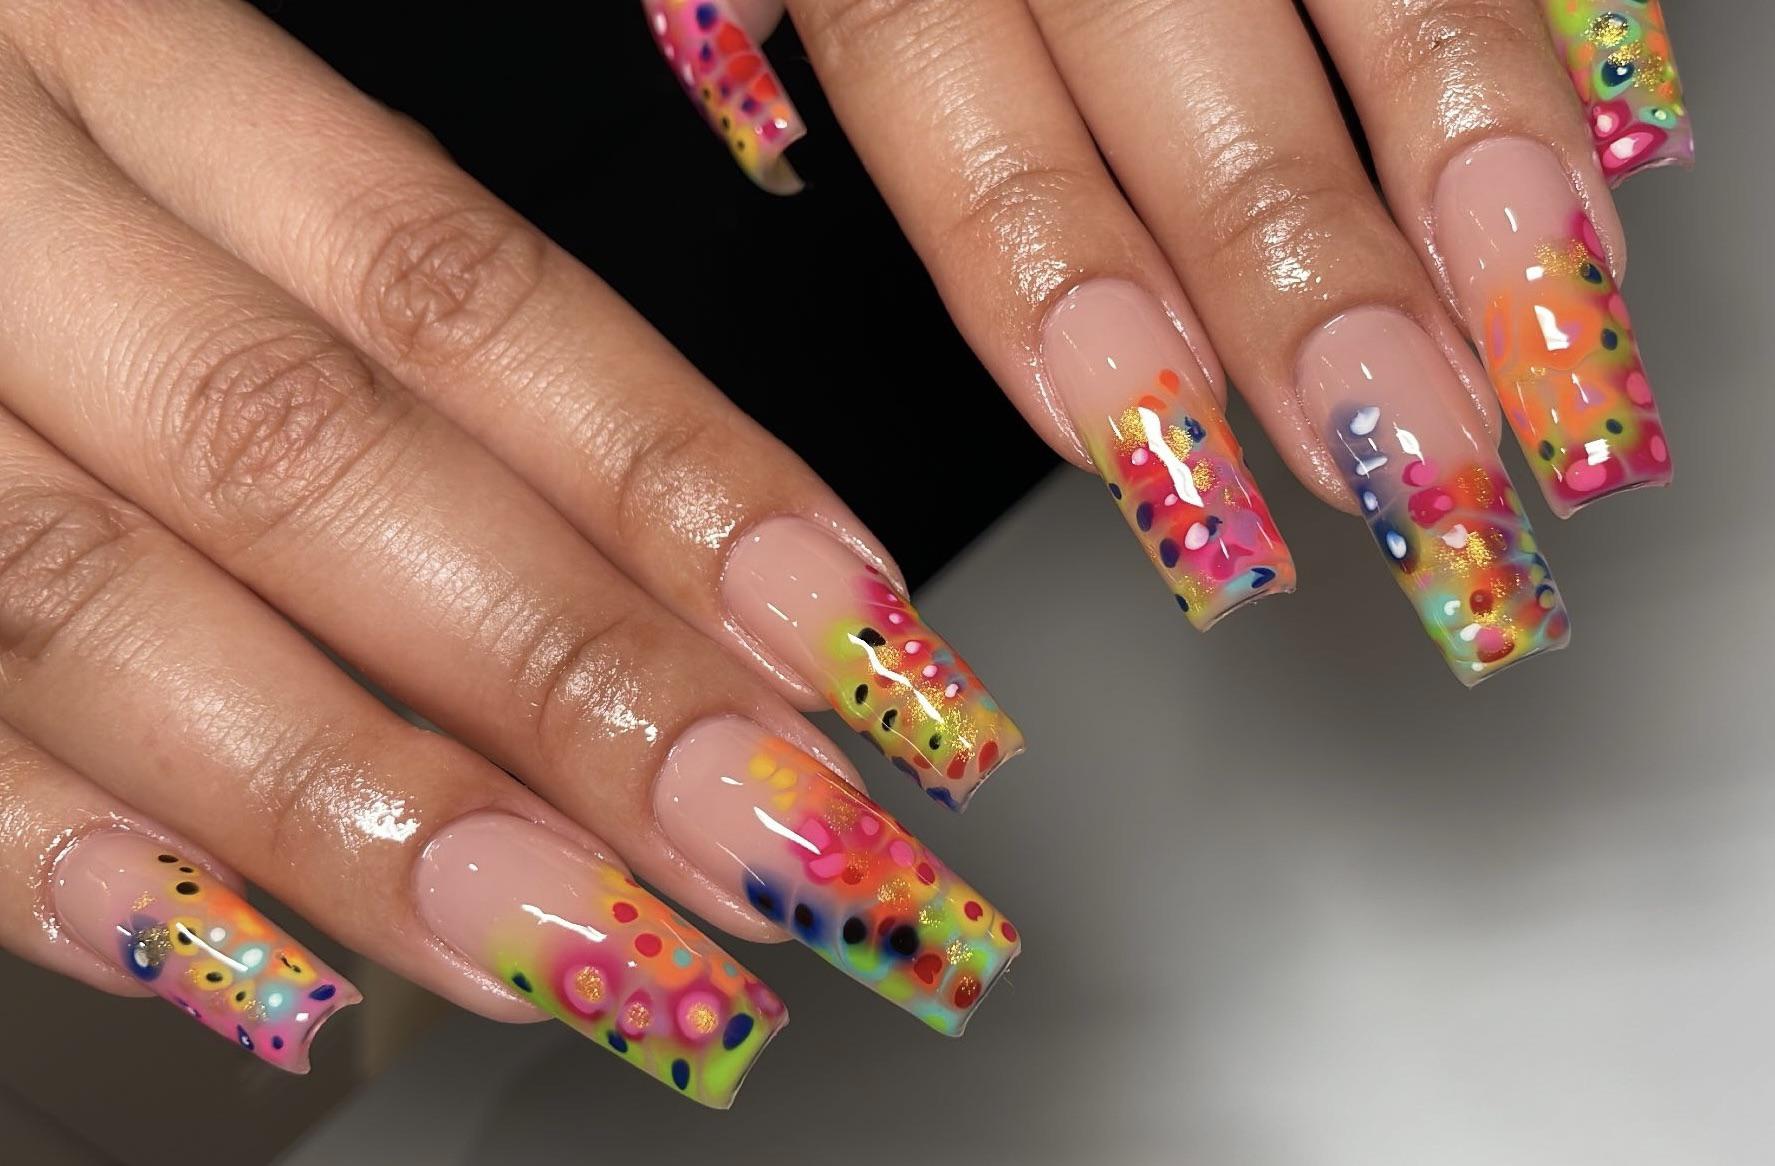
Utilize a nail art brush or dotting tool to manipulate the gel and create your desired designs on each nail. Remember, the Blooming Gel will spread and blend, creating a unique, blooming effect. Cure the nails with the Blooming Gel under the Gelish LED or UV lamp. Follow the Blooming Gel or Gelish instructions.
Step 4
Once the Blooming Gel is cured, apply a layer of Gelish Top Coat to seal and protect your nail art. Cure the top coat under the lamp. Wipe each nail with Gelish Nail Surface Cleanse or rubbing alcohol using lint-free wipes to remove any sticky residue left after curing. Gently apply cuticle oil or a moisturizer to nourish both your cuticles and the surrounding skin.
Tips and Tricks Of Blooming Gel
Work quickly! Blooming gel has a limited timeframe for color diffusion. Practice makes perfect! Feel free to stay positive even if your initial try isn’t perfect. Have fun experimenting! Remember to maintain cleanliness throughout the process. Thin layers are key! A thick layer of blooming gel will limit the color movement. Don’t overwork it! Let the blooming gel do its magic. Too much manipulation can create muddy colors. Blooming gel goes beyond being a mere nail product; it’s a call to unleash the artist within you. So, embrace the color, embrace the flow, and watch your nails bloom into vibrant works of art. Happy blooming!